Seed Starting 101: How to Get a Jump on the Growing Season
Starting seeds indoors is a great way to get ahead of the growing season, especially if you live in a region with a shorter growing period. By planting seeds early, you can give your plants a head start and ensure a thriving garden when the weather warms up. Here’s your go-to guide for getting started with seed starting:
1. Select Your Seeds
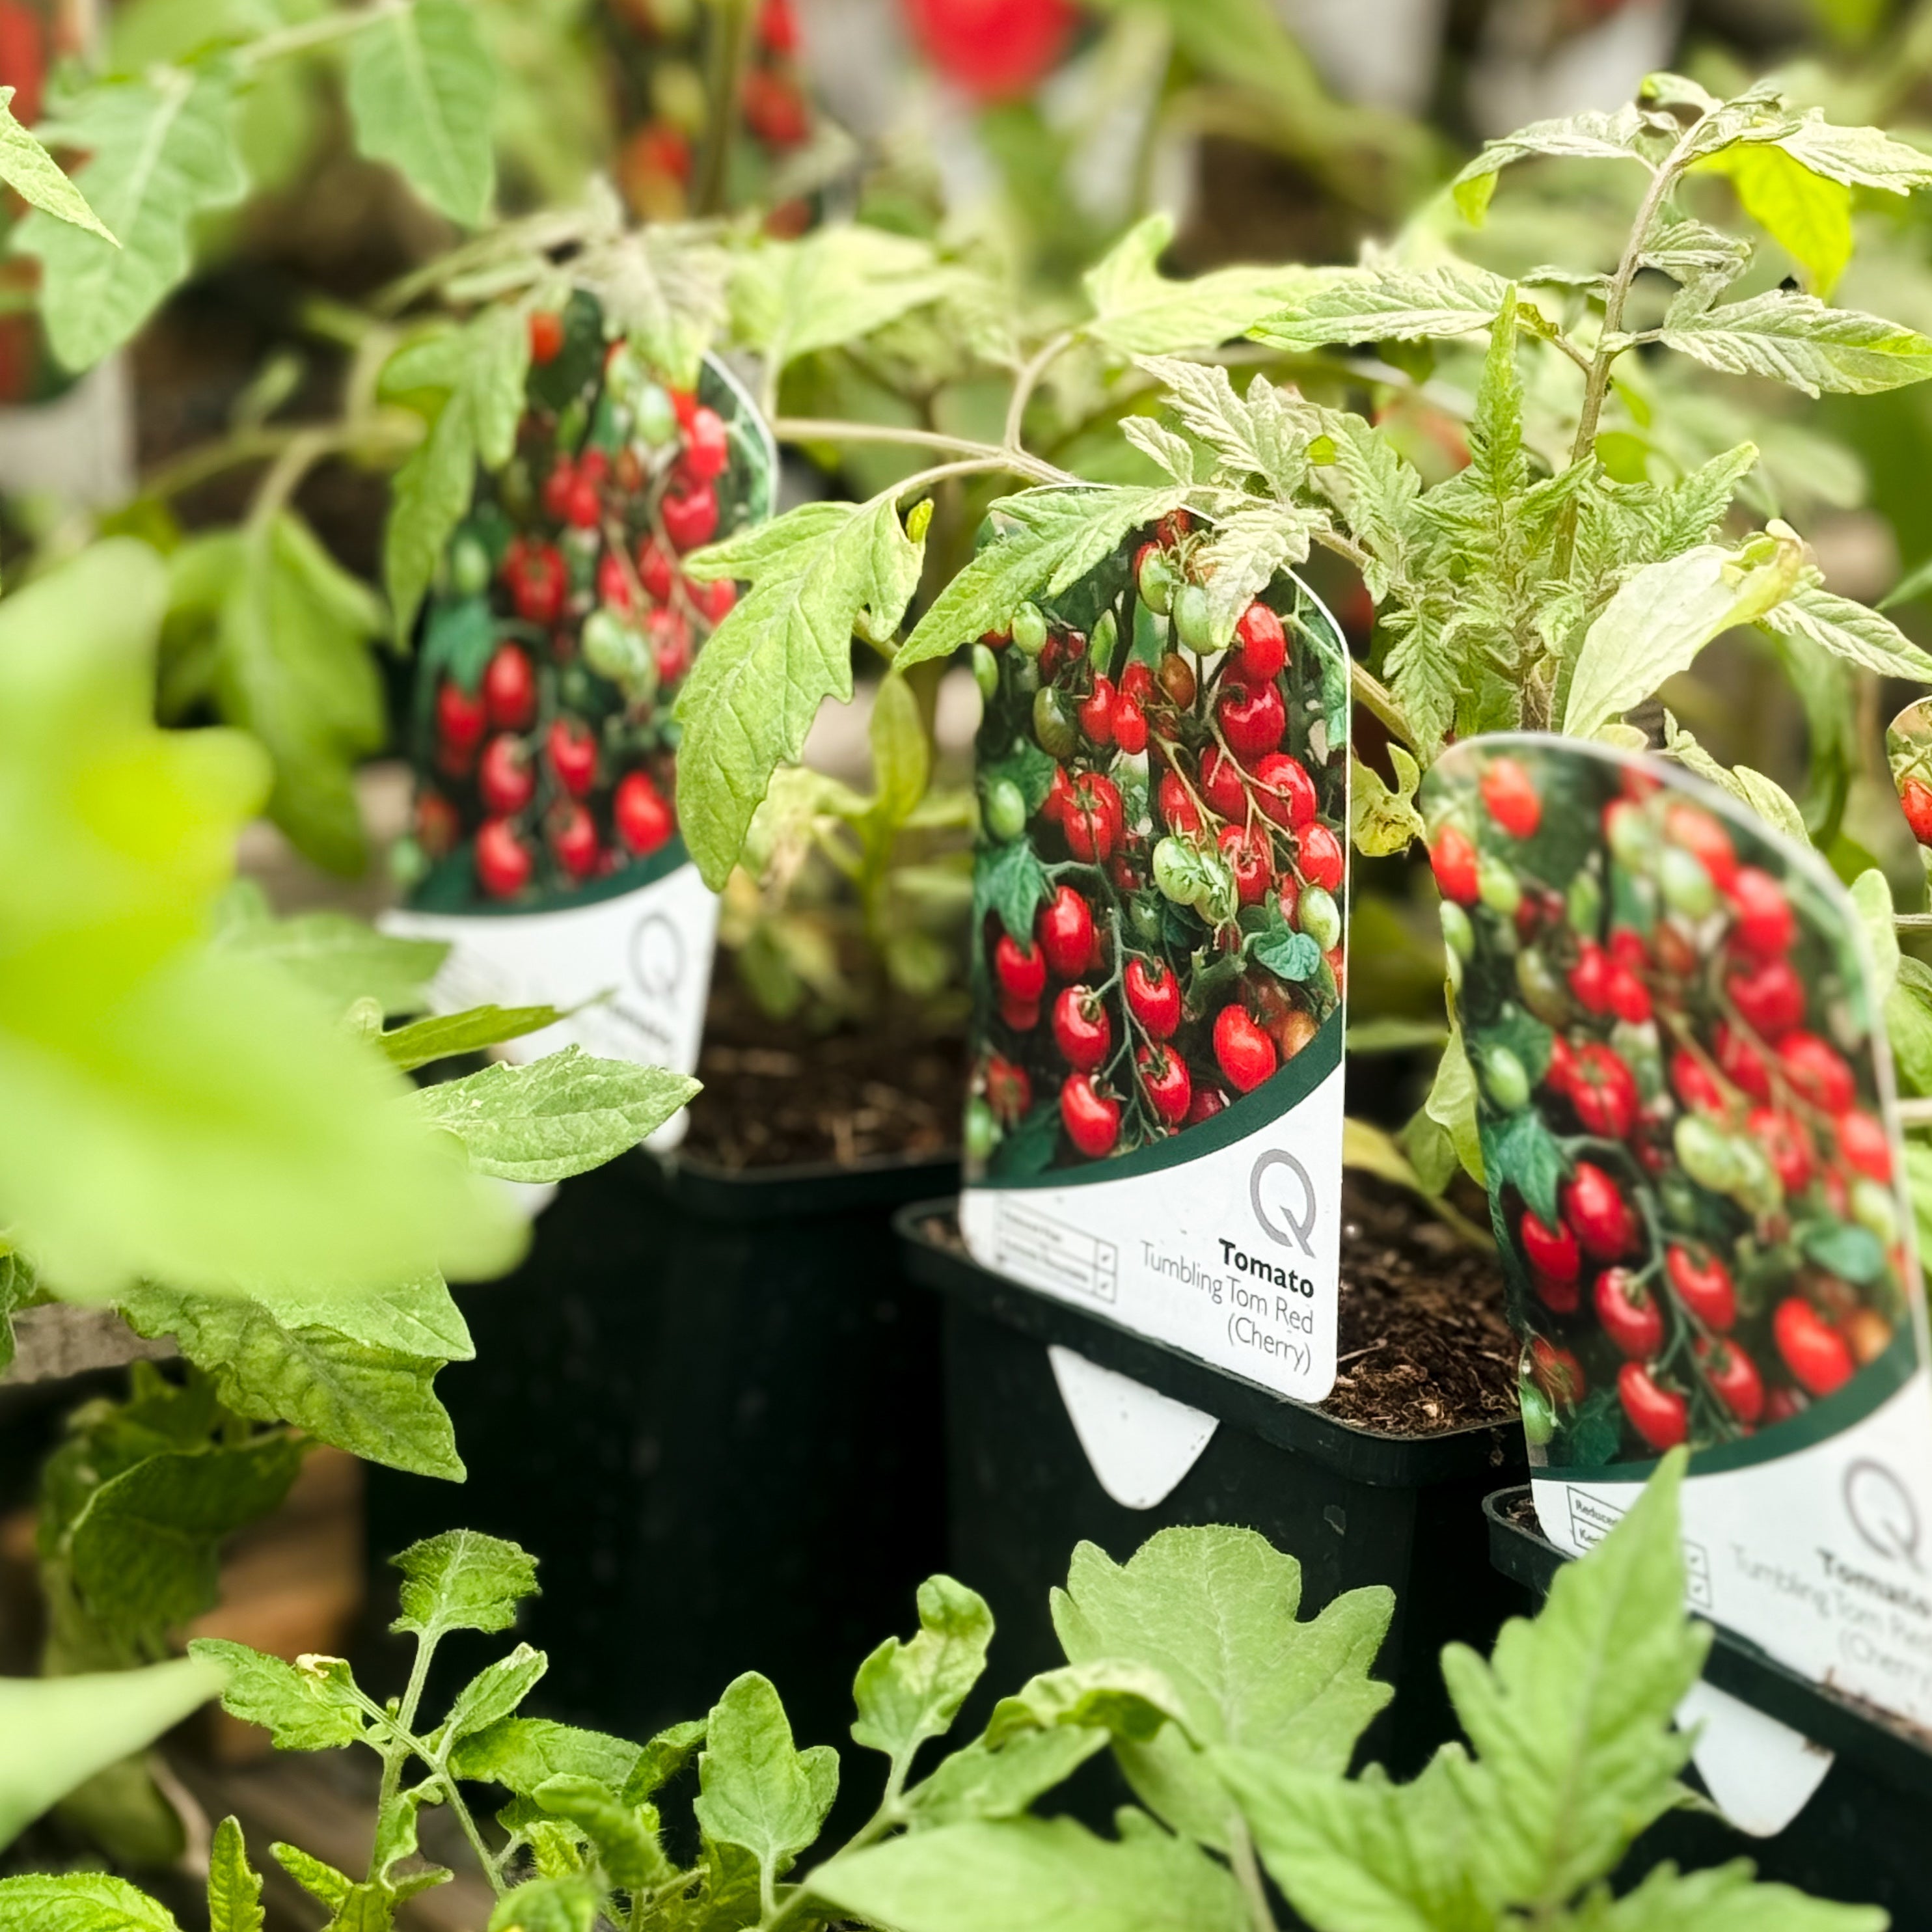
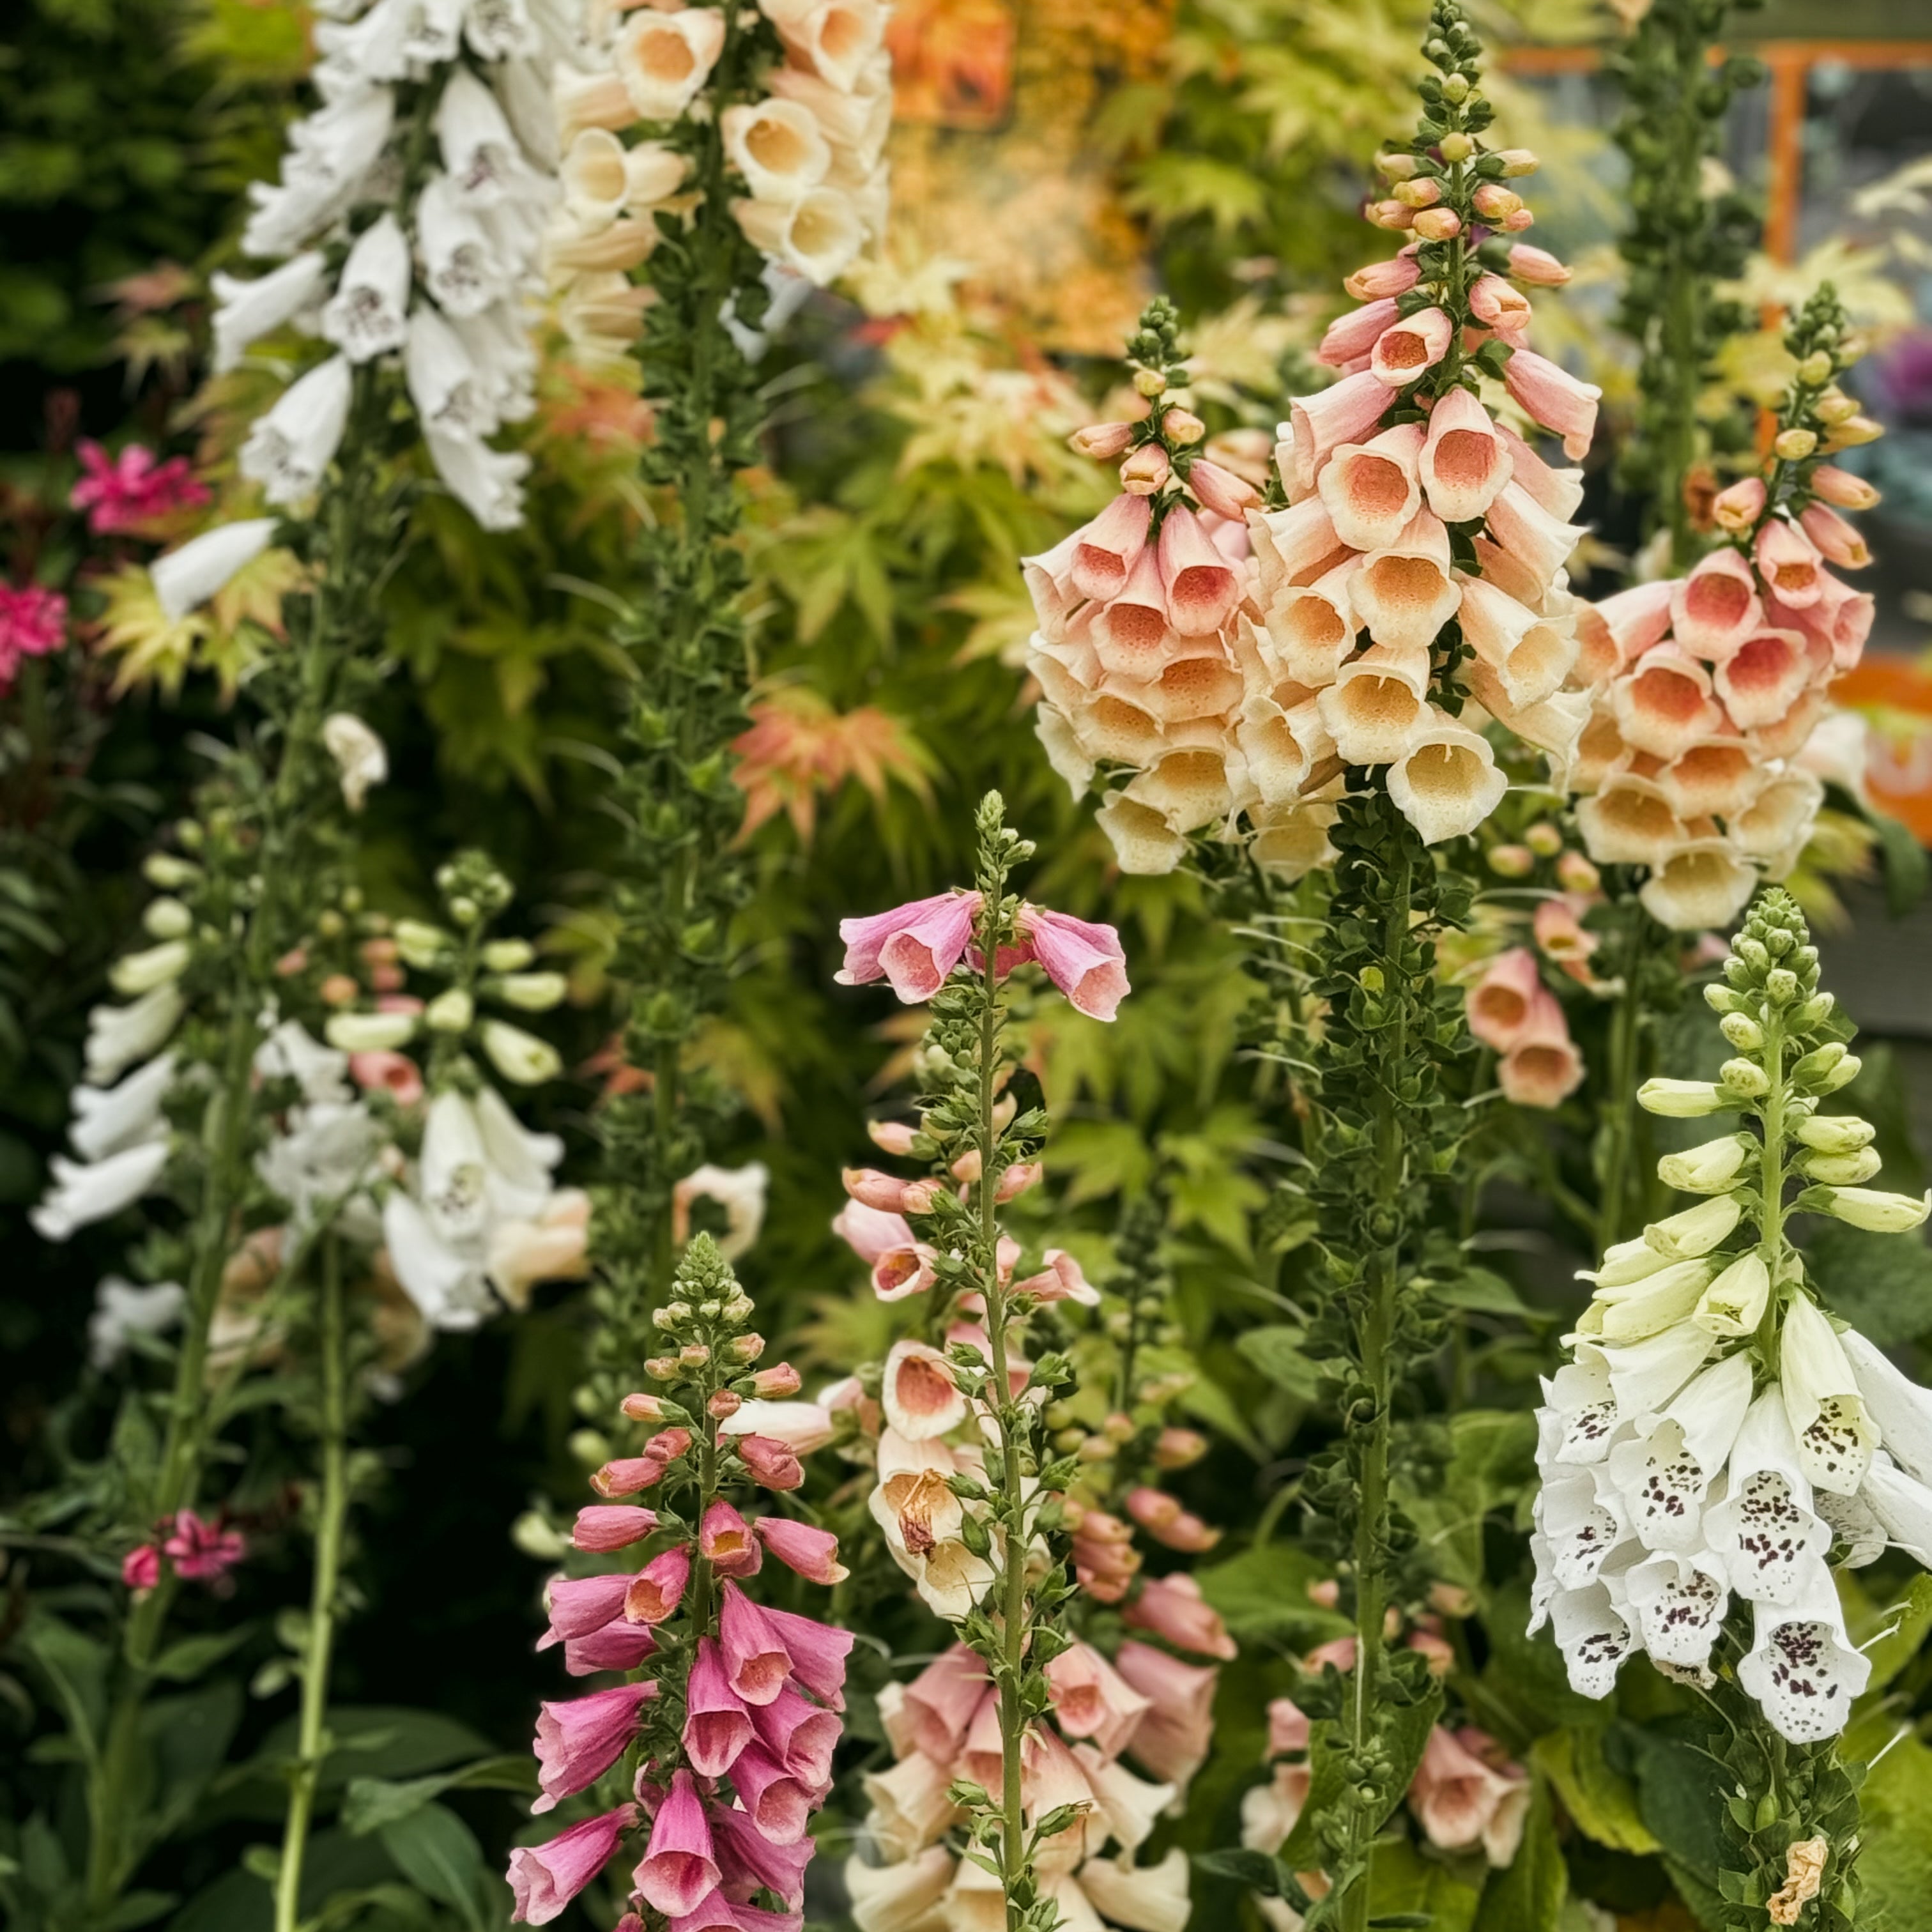
Choose seeds that need a longer growing season, such as tomatoes, peppers, and certain flowers. Check your seed packets for guidance on the ideal start time. Typically, you'll want to start them indoors about 6-8 weeks before your last expected frost date.
2. Gather Your Supplies
You’ll need:
- Containers: Seed trays, pots, or any container with drainage holes.
- Seed-Starting Mix: A lightweight, well-draining mix designed for seedlings.
- Watering Can/Spray Bottle: To keep the soil evenly moist.
- Grow Lights: If you don’t have a sunny spot, invest in grow lights to ensure your seedlings get enough light.
- Heat Mat (Optional): To keep your seedlings warm and encourage faster germination.
3. Prepare the Containers and Soil
Fill your containers with seed-starting mix, leaving about half an inch from the top. Gently water the soil to moisten it, ensuring it’s damp but not soggy.
4. Plant the Seeds
Follow the planting depth instructions on the seed packet. Generally, smaller seeds go closer to the surface, while larger seeds need to be planted deeper. Cover the seeds lightly with soil, then water gently.
5. Provide Light and Warmth
Place your containers in a sunny spot, ideally on a south-facing windowsill. If natural light is insufficient, use grow lights positioned a few inches above the seedlings. Additionally, keep the temperature between 65°F to 75°F (18°C - 24°C), which is ideal for most seeds. A heat mat can help maintain warmth for optimal germination.
6. Water and Maintain Moisture
Keep the soil consistently moist but not waterlogged. Use a spray bottle or watering can with a fine nozzle to water gently, avoiding disturbing the soil or seeds.
7. Thin the Seedlings
Once your seedlings have grown their first set of true leaves, thin them out to allow the strongest plants to thrive. Remove the weaker plants, leaving adequate space for the remaining seedlings to grow.
8. Harden Off Seedlings
Before transplanting your seedlings outdoors, harden them off by gradually exposing them to outdoor conditions. Start by placing them outside for a couple of hours each day, gradually increasing the time spent outdoors over a week.
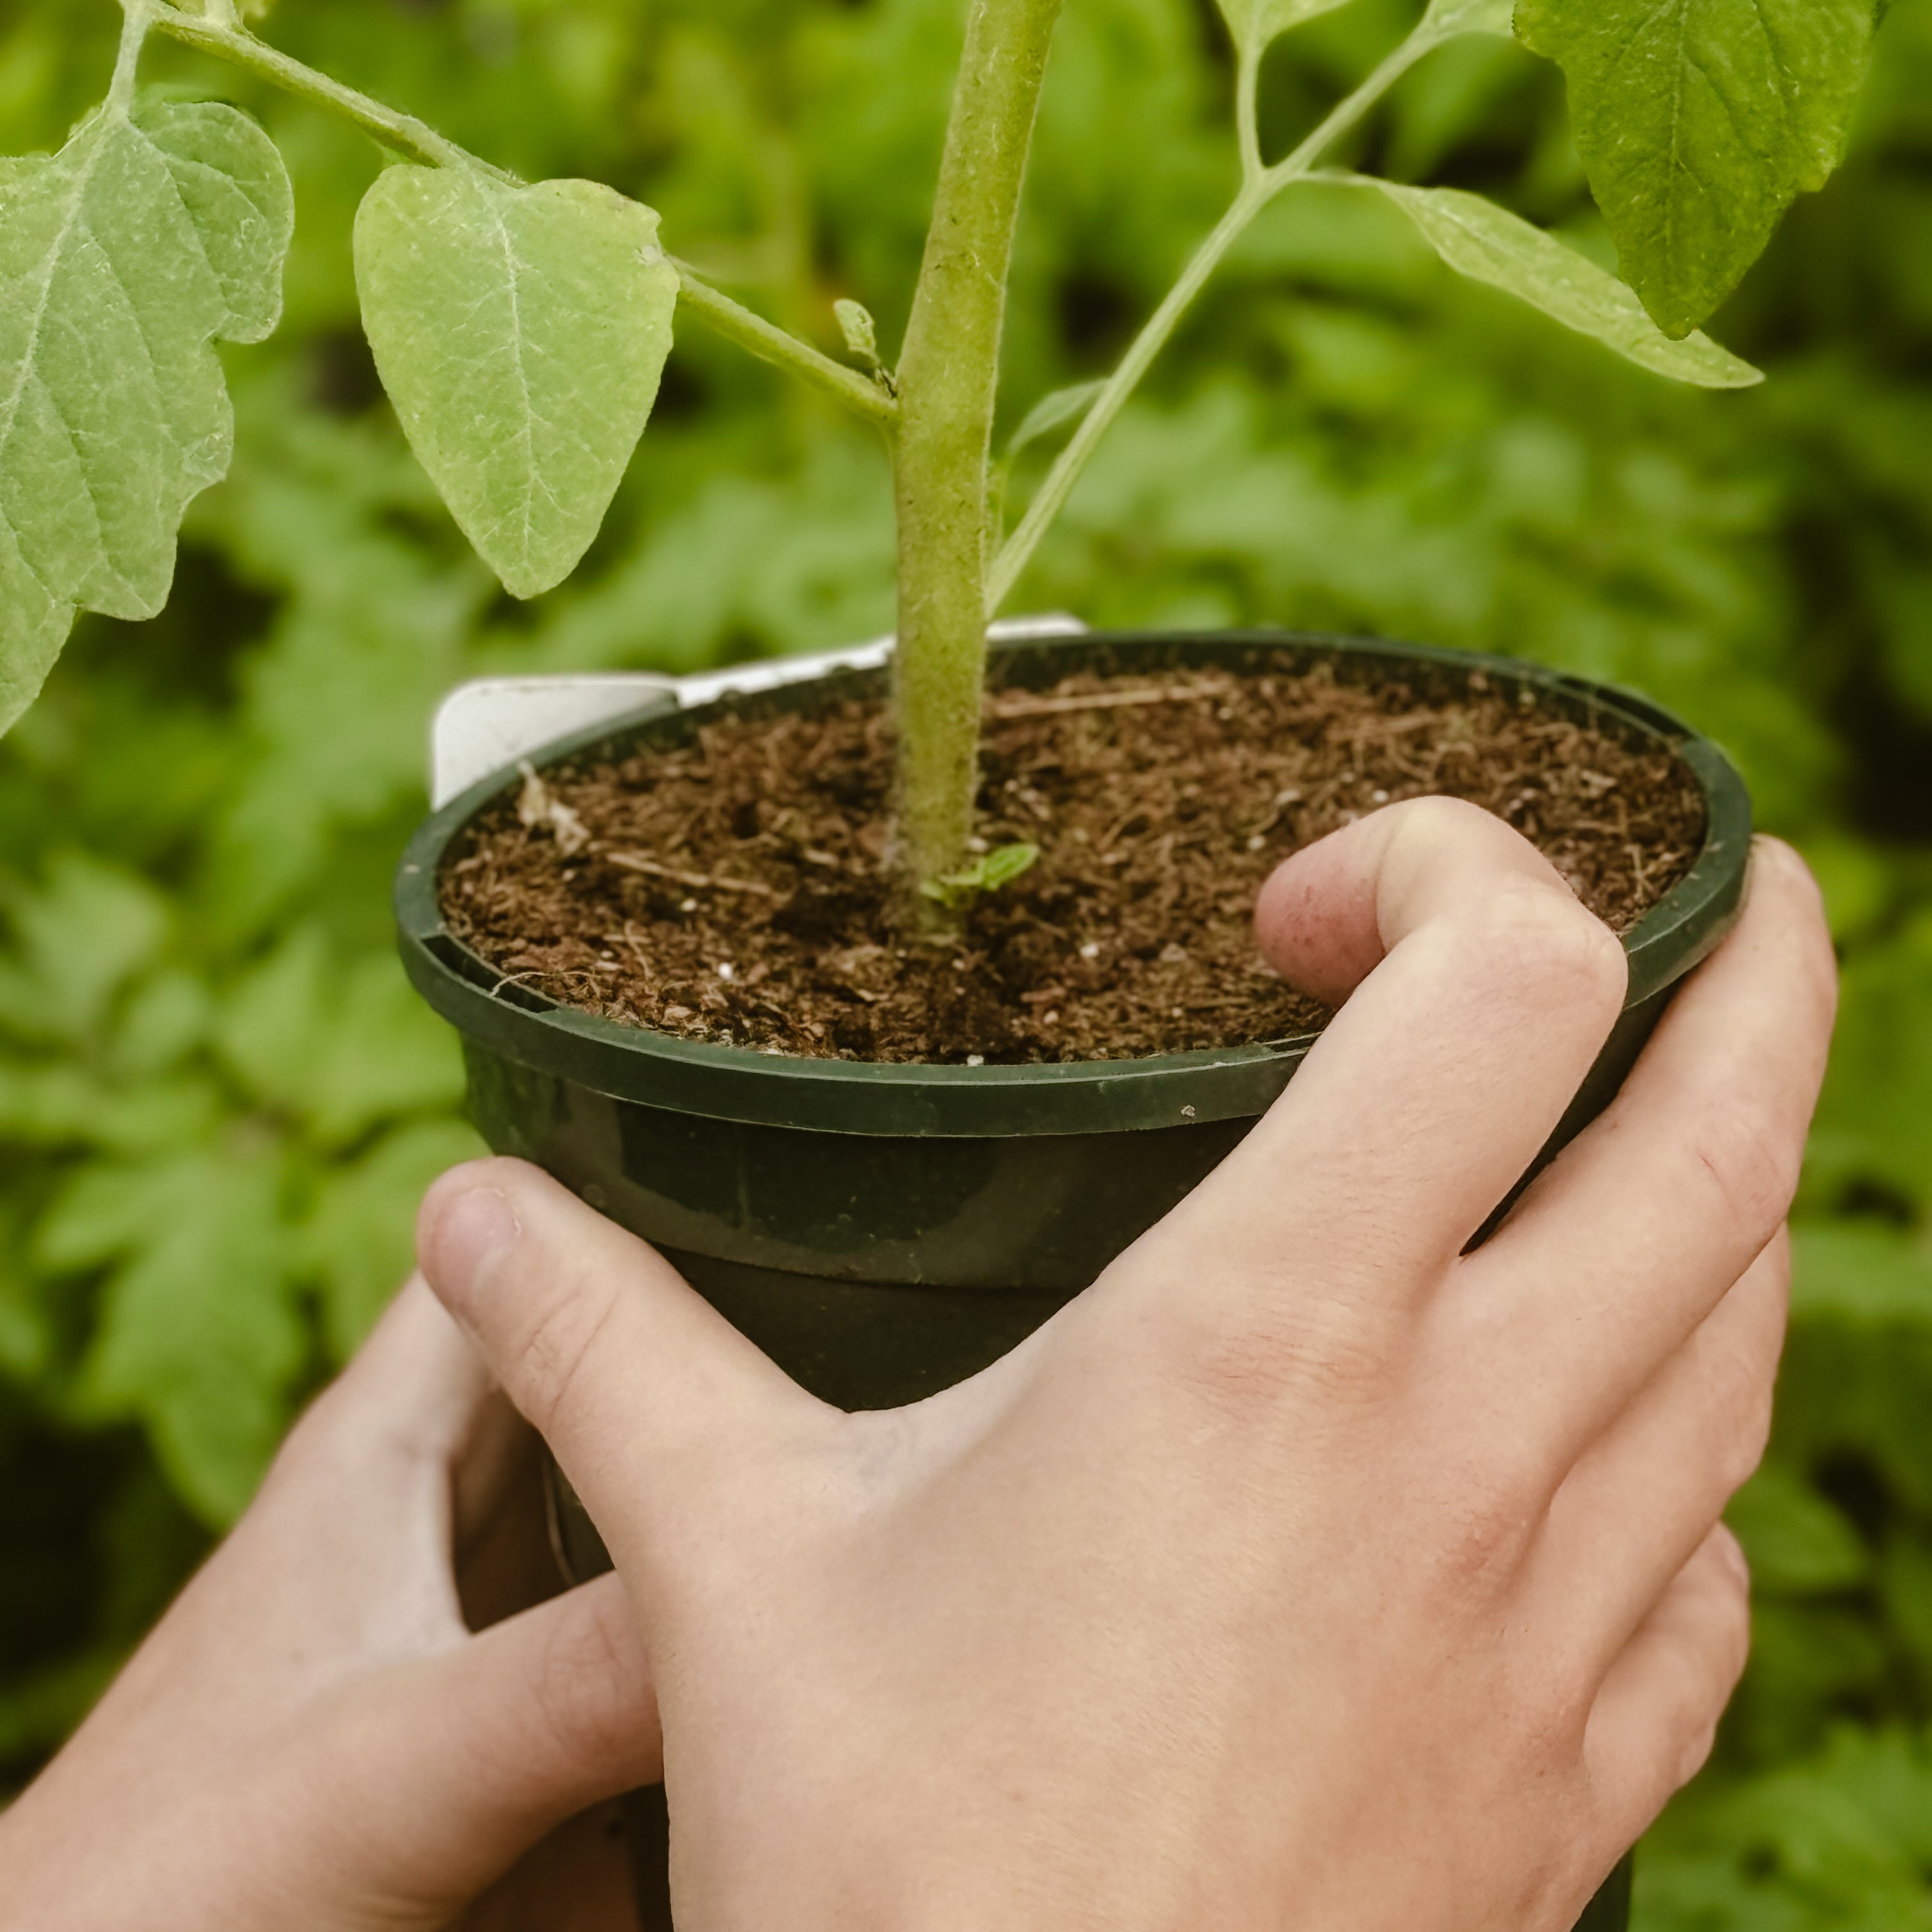
9. Transplant to the Garden
Once the seedlings are hardened off and the weather is suitable, it’s time to transplant them into your garden. Choose a cloudy or cooler day to reduce transplant shock, and water the plants well after planting.
Why Start Seeds Indoors?
- Longer Growing Season: By starting indoors, you can extend the growing season for your favourite crops.
- Better Control: You have more control over the growing conditions (light, temperature, water).
- Cost-Effective: Growing from seeds can be cheaper than buying established plants.
With these steps, you’ll be well on your way to a successful growing season. Starting your seeds indoors gives you a head start on your garden, resulting in healthier plants and more bountiful harvests come summer. Happy gardening!